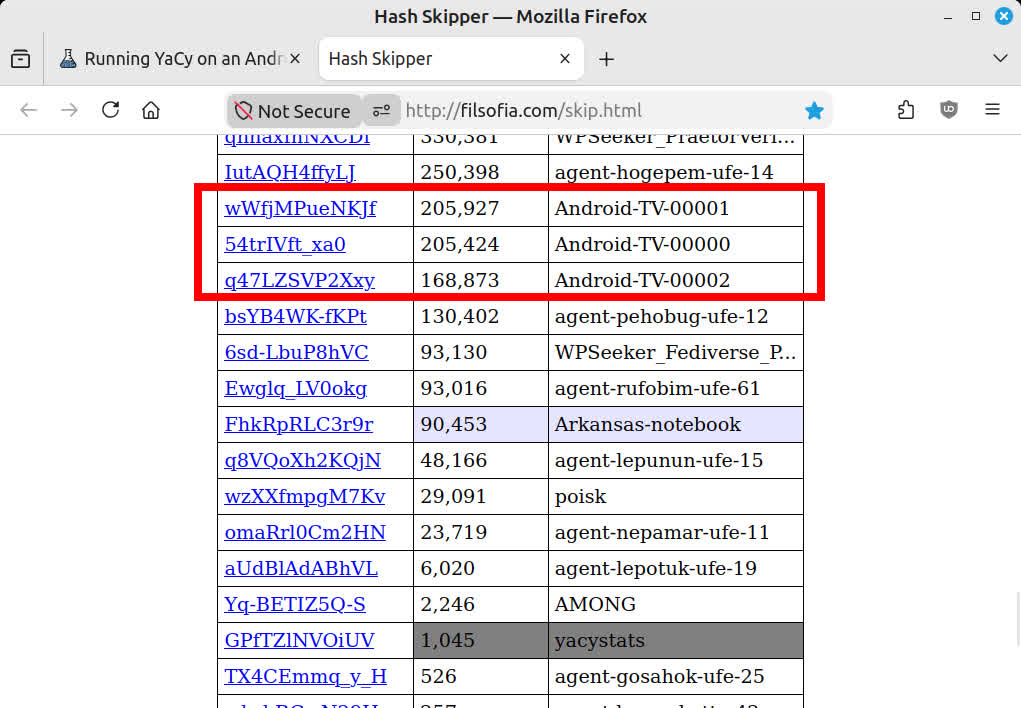
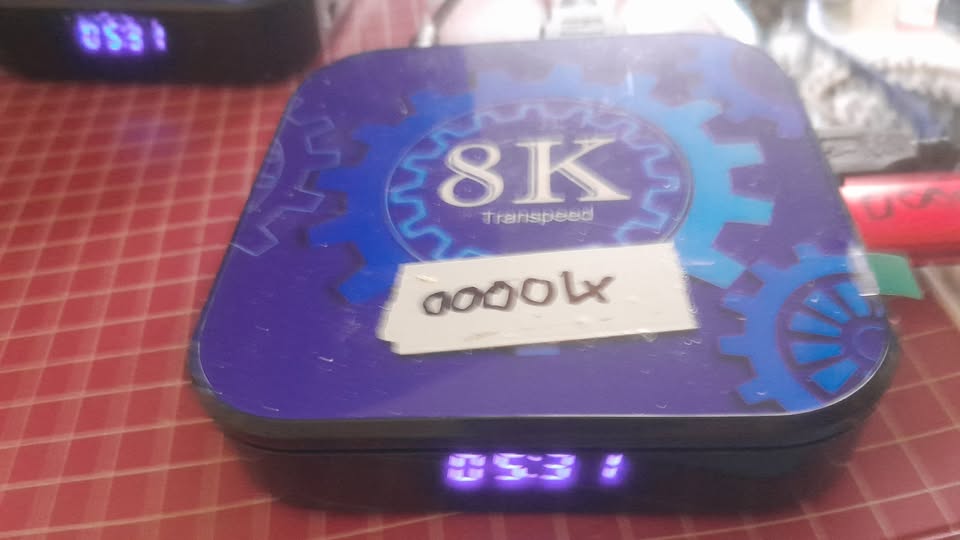
I have successfully installed and run YaCy on an Android TV box using Termux. This is the basic procedure I used.
1. Install Termux
I initially followed the YaCy Android installation information and installed Termux.
Termux is available from F-Droid – Termux or from the official Termux GitHub releases.
One issue I encountered was with Termux:Boot. I had trouble installing it, possibly because Termux and Termux:Boot were obtained from different sources/signatures. It is probably best to install Termux and any Termux add-ons from the same source.
The existing YaCy Android installation information is here: YaCy Android Installation.
2. Install the required packages
Open Termux and run:
pkg update && pkg upgrade
pkg install openjdk-21 git ant openssh iproute2 which -y
This installs Java 21, Git, Ant, OpenSSH and the basic networking tools needed for the setup.
3. Clone and build YaCy
Clone the current YaCy source:
git clone --depth 1 https://github.com/yacy/yacy_search_server.git
cd yacy_search_server
ant clean all
Then start YaCy:
./startYACY.sh
After startup, YaCy should normally be accessible from another machine on the LAN using the Android TV box’s IP address and YaCy’s configured HTTP port.
4. Useful Android/Termux checks
These commands are useful for checking the hardware and network configuration:
nproc
free -h
uptime
cat /proc/cpuinfo
whoami
ip -a route
nproc shows the available CPU cores, while free -h is useful for checking how much memory Android leaves available to Termux and YaCy.
5. Enable SSH
Set a password for the Termux user:
passwd
Start the SSH server:
sshd
Termux OpenSSH normally listens on port 8022 rather than the standard port 22.
You can check it with:
ss -ltn | grep 8022
From another Linux machine, connect using something similar to:
ssh -p 8022 TERMUX_USER@ANDROID_TV_IP
Use whoami in Termux to find the correct username.
6. Automatically start SSH and YaCy when Termux starts
Edit the Termux shell configuration:
nano ~/.bashrc
Add:
# Found timing issue on boot up so start SSH server twice.
if ! pgrep -x sshd >/dev/null; then
sshd
fi

if ! pgrep -x sshd >/dev/null; then
sshd
fi

# Only start YaCy from the local Termux terminal, not SSH
if [ -z "$SSH_CONNECTION" ] && [ -z "$SSH_CLIENT" ] && [ -z "$SSH_TTY" ]; then
    if ! pgrep -f 'net.yacy.yacy' >/dev/null; then
        cd "$HOME/yacy_search_server"
        ./startYACY.sh
        cd "$HOME"
    fi
fi
This means that when a Termux shell starts, it checks whether SSH and YaCy are already running and starts them if necessary.
This is not quite the same as Android boot autostart: .bashrc runs when Termux starts a shell. For true boot-time startup, Termux itself still needs to be launched at Android boot, for example with a compatible Termux:Boot installation or another Android/root startup mechanism.
Result
This gives a surprisingly capable little YaCy peer:
Android TV Box
      │
    Termux
      │
      ├── OpenJDK 21
      ├── OpenSSH :8022
      │
      └── YaCy
The nice part is that no conventional Linux installation, Docker container or desktop environment is required. YaCy is compiled from source and runs directly under Termux.
For anyone experimenting with inexpensive ARM Android TV boxes, this provides a simple way of turning one into a small, low-power 10 Watts YaCy peer.